
To make a tail bag for a horse, you will need some basic sewing supplies. Start by measuring the horse’s tail and add an extra 1-2 inches to your measurements so that the fabric is not too tight. Cut out two pieces of fabric with these measurements, making sure both pieces are identical in size.
Sew around 3 sides of each piece leaving one side open on each piece. Place the right sides together and sew the remaining edges together to form a pocket shape with one open end at either side. Turn this pocket inside out so that it looks like a tube shape and fill it with stuffing material such as rags or foam padding until you have achieved desired thickness for protection from insects and rubbing/braiding damage.
Finally, attach velcro straps or drawstrings to close up the ends securely around the horse’s tail before using!
- Step 1: Gather Supplies – You will need a canvas or vinyl material, scissors, a sewing machine, thread, needle, and thread for hand stitching (optional), velcro strips, and fabric glue (optional). Step 2: Cut Material – Measure the tail of your horse and cut the canvas or vinyl accordingly
- Make sure to add proper seam allowance for hemming
- Step 3: Hem Edges – Use either a sewing machine with a zigzag stitch or use needle and thread to create a strong hemline on both edges of the bag
- If you are using needle and thread, make sure to backstitch at least once in each direction.
- Step 4: Add Velcro Strips – Place the strips along one side of the bag so that they can be used as closure when needed
- Sew them securely onto the material with either a sewing machine or hand stitching.
- Alternatively, you can also use fabric glue if desired.
- Step 5: Attach Bag to Horse’s Tail – Securely attach two loops on either side of the bag so it fits snugly around your horse’s tail without slipping off easily while riding.
If you went to know more about how to make a tail bag for a horse, keep reading!
?How to sew a tail bag for a horse. @Equinesewingwithlesa
What Material Are Horse Tail Bags Made Of?
Horsetail bags are made from a variety of materials, including nylon, canvas, leather, and suede. Nylon is the most common material used due to its durability and water resistance. Canvas is also popular as it provides excellent breathability for your horse’s tail while still providing protection from dirt and debris.
Leather offers an elegant look but may need more frequent cleaning to keep it looking its best. Suede is softer than other materials but can be easily damaged in wet conditions or with regular use. Each material has pros and cons so it’s important to consider how you’ll use your bag when deciding which one will work best for you and your horse!
What is the Best Material for Horse Tail Bags?
When it comes to choosing the best material for horse tail bags, you want something that is durable, lightweight, and breathable. Nylon is one of the most popular materials used for horse tail bags as it’s strong enough to withstand everyday wear and tear but light enough that your horse won’t be weighed down by its own gear. A mesh design can also help keep a horse’s tail free from tangles and dirt while still giving them plenty of ventilation.
Neoprene is another great choice as it has excellent water-repellent properties while still allowing some airflow so your horse doesn’t overheat during long rides or competitions.
How Do You Bag a Horse’S Tail?
Bagging a horse’s tail is an important part of grooming and can help keep it healthy. The process begins by brushing out the tail to remove any debris or tangles. Once the brush has been passed through, you’ll want to separate the hair into sections and begin combing them downward with a wide-toothed comb, starting at the base of the tail.
After all of the knots are detangled, you’ll want to use your fingers to divide each section into two equal parts, then secure each one with a rubber band or twist tie close to their base before braiding them together. Make sure not to braid too tightly, though, as this can cause discomfort for your horse! Finally, once all tails have been secured in place, you’ll need to spray some detangling solution over the top for extra shine and protection against further tangles!
How Long Should a Horse Tail Bag Be?
A horsetail bag should be long enough to cover the majority of the tail but not so long that it impedes movement. The ideal length is anywhere between mid-cannon and fetlock, or about 18”-24”. This will ensure full coverage while still allowing ample range of motion for the horse’s tail.
Additionally, some horses may require a longer bag if they have exceptionally thick tails, as this extra fabric can help provide better protection from dirt and debris buildup.

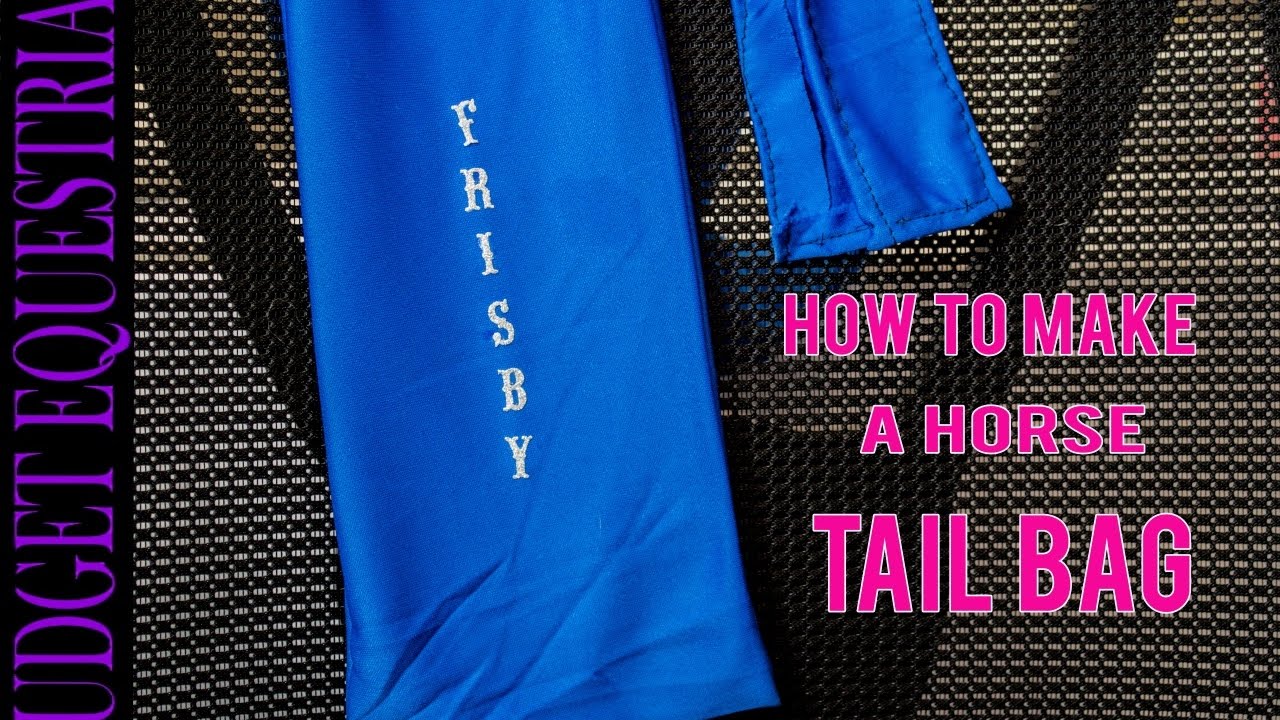
Credit: www.budgetequestrian.com
How to Make a Tail Bag Out of a Sock
Making a tail bag out of a sock can be an easy and inexpensive way to store your horse’s tail. To make the bag, start by cutting off the toe part of the sock. Then, fold over the top edge of the cut-off section and stitch it in place with needle and thread or use fabric glue.
Next, turn inside out so that all stitches are hidden on the inside of the bag, then fill with tail hair. Finally, sew or glue shut at the top to close securely, and you have yourself a stylish DIY tail bag!
How to Make a Braid in Tail Bag
Making a braid in a tail bag is an easy way to add some style and flair to any look. The process is simple, but it does require some patience and practice. Start by brushing your hair out into sections, then divide the sections into three parts.
Take one section at a time and begin braiding each piece as if you were making a regular three-strand braid. When you get closer to the end of the section, pull the strands tightly together so that they stay in place while you are weaving them together. Continue this same process until all of your sections have been braided together.
Once finished, secure with hair ties or clips for extra hold!
Horse Tail Bag
The horsetail bag is an important accessory for keeping a horse’s tail looking its best. It provides protection from dirt, dust, and other elements that can damage the hair. In addition to protecting the tail, it also helps to keep the mane in place and tidy while riding or performing various activities.
The bag is adjustable and made of lightweight materials such as nylon or polyester which make them comfortable for horses to wear during long rides.
Diy Horse Mane Bags
DIY horse mane bags are an easy and affordable way to keep your horse’s mane in top condition. These DIY bags are made from lightweight fabrics such as nylon, spandex, or even canvas and feature a drawstring closure at the neck. The bag is designed to slip over the horse’s mane and can be adjusted for a snug fit.
They help protect the hair from dirt, dust, sweat, and other environmental hazards that can damage delicate manes. Not only do they help keep your horse looking its best but also reduce time spent brushing out tangles afterward!
Horse Tail Bag Dimensions
Horsetail bags come in a variety of sizes, with the average dimensions being approximately 9” wide and 15” long. The size of the bag should be determined by the length and thickness of your horse’s tail – it is important to measure before buying a bag so that you can ensure it fits properly!
How to Make a Horse Tail for Costume
Creating a horse tail for a costume can be relatively easy and fun. Start by gathering supplies such as fabric, scissors, white glue or a hot glue gun, a comb, thread, and a needle. Cut the fabric into strips of varying lengths to mimic the natural shape of the horse’s tail.
Sew these strips together at one end so that they all hang down from one point. Add some volume to the tail by tying knots at various points along its length with thread; use different colors for extra effect! Once you have your desired shape and volume, please attach it to an elastic band or hair clip using either white glue or a hot-glue gun.
Finally, brush through it with a comb until smooth, and there you have your very own horse tail for your costume!
Diy Horse Tail Wrap
Tail wraps are a great way to keep your horse’s tail looking neat, healthy, and free of dirt. DIY tail wraps offer a cost-effective alternative to buying pre-made wraps and can be tailored to fit your horse’s needs perfectly. To make one, simply cut a piece of fabric into an eight-foot-long strip that is the same width as the base of the tail.
Wrap this around the end of the tail, starting from near where it joins with the body, then tie it off securely so it doesn’t slip down. Add an additional layer for extra protection, or use colorful ribbons for decoration!
Tail Bags
Tail bags are a great way to keep your horse’s tail free from dirt and debris while riding. They provide protection for the tail, keeping it clean and tangle-free. Tail bags come in various materials such as nylon, cotton, or suede, with some featuring adjustable straps or drawstrings to ensure the perfect fit around the horse’s tail.
They also help reduce the risk of skin irritation caused by brushing and combing. With proper care and maintenance, these handy items can last for many years!
Conclusion
Making your own tail bag for a horse is an easy and cost-effective way to protect the horse’s tail from dirt and debris. Not only does it save you money, but it also allows you to customize the design of the bag according to your preferences. With just a few materials, some basic sewing skills, and patience, anyone can make their own tail bag that will last for years.
Making a tail bag for your horse is an excellent way to show your consideration and care while providing protection at the same time. Thank you for reading our post about how to make a tail bag for a horse.
