
To make a horse tail bag, you will need some basic sewing items. First, cut two pieces of fabric in the shape and size that you want for your bag. Next, place the two pieces of fabric together with right sides facing each other, then pin them together.
Then sew around three sides, leaving one side open to insert the drawstring. Now turn the fabric so that the right sides are facing outwards and press all seams flat with an iron. Insert a drawstring into the top opening and secure it by stitching along both edges of the opening.
Finally, hem up any raw edges or attach decorative trim if desired before using your new horse tail bag!
- Step 1: Gather the materials
- You will need an old horsetail, a sewing machine, scissors, thread, and fabric of your choice
- Step 2: Cut the horsetail into sections so you have enough material to fill your bag
- Step 3: Sew the pieces together using thread and a sewing machine to create one long piece of material that is large enough for your desired size bag
- Step 4: Measure out the fabric for two sides of your bag and cut it out with scissors or use a pattern if you prefer
- Make sure they are equal in length and width so they fit together correctly later on
- Step 5: Pin both pieces right sides together securely and sew them along three edges (leaving one edge open) with a straight stitch on your sewing machine
- Step 6 : Turn right side out through the opening at one end of the seam, then press flat with an iron before topstitching around all four edges for added strength
- Step 7 : Finally, attach straps however you choose – either by hand-sewing onto each side or via D-rings if preferred -and enjoy!
If you went to know more about how to make a horse tail bag, keep reading!
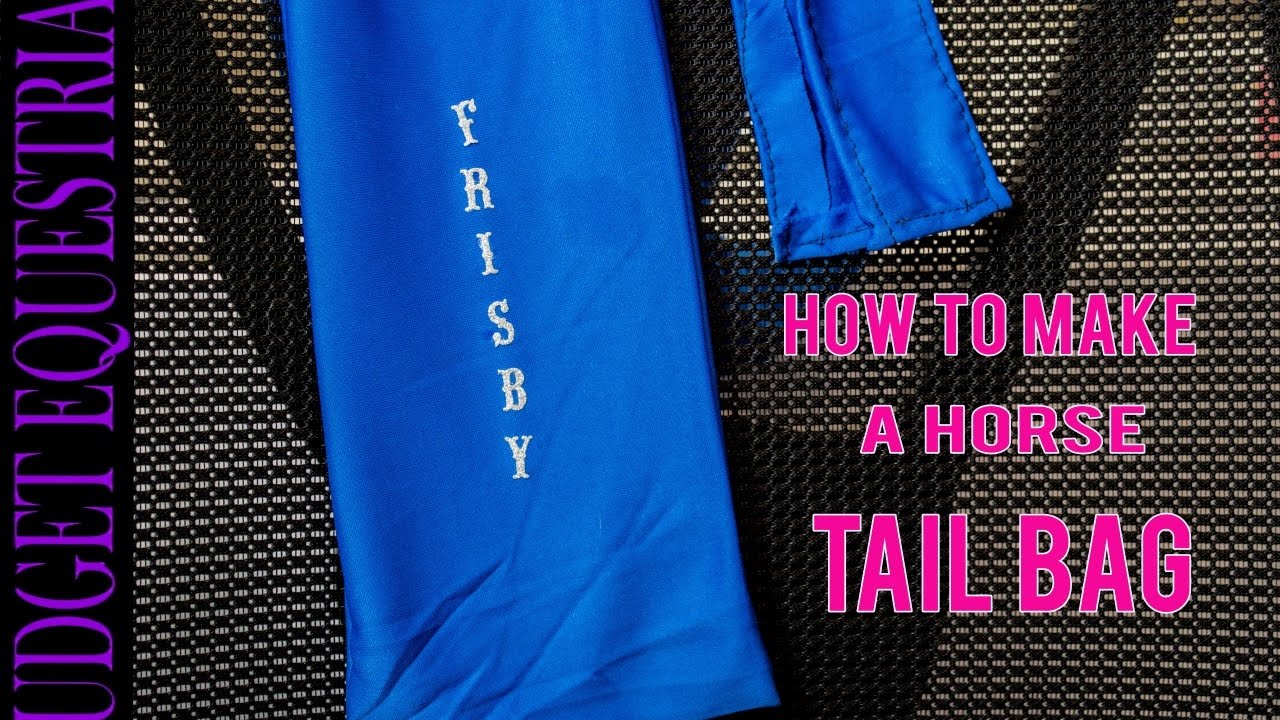
?How to sew a tail bag for a horse. @Equinesewingwithlesa
What Material is Used for Horse Tail Bags?
Horsetail bags are typically made from a variety of materials, including nylon, canvas, and synthetic fabrics. The most popular choice is usually a waterproof fabric that can withstand various weather conditions and temperatures. Additionally, many horse tail bags also have an additional layer of fleece lining on the inside to protect the hair from tangles and damage caused by rubbing against other surfaces.
When selecting a horse tail bag for your horse it’s important to consider what type of material best suits their individual needs as well as any special features or customization options needed.
How Long Should a Horse Tail Bag Be?
A horsetail bag should be the same length as its tail, so it can provide a snug fit and protect the entire tail from dirt, dust, bugs, and other debris. The best way to determine how long your horse’s tail bag should be is to measure from the base of their dock (the end of their spine) to the end of their longest hair strands. Depending on breed or age, tails may vary in length; however, an average-sized adult horse with a full mane will have approximately 36 inches worth of hair that needs coverage.
For shorter or thinner tails, you might consider using a half-length bag for extra comfort and protection.
How Do You Bag a Horse’S Tail?
Bagging a horse’s tail is the process of combing, washing, and drying it before wrapping up the hairs in an elastic band or bag. To begin, use a wide-toothed comb to brush out any tangles and dirt from the tail. You can then wash the tail with either shampoo or conditioner, depending on its needs, but make sure you rinse thoroughly with cool water until all soap residue is gone.
After that, squeeze out excess moisture before using a detangler product if necessary. Finally, take small sections of hair at a time from the backside of your horse’s tail and wrap them around your hand before securing each section with an elastic band or bagging it in place by holding onto both ends of each section as you turn it into its own braid-like shape. With patience and practice over time, you will be able to easily bag even long tails!
Should I Bag My Horses Tail?
The answer to this question is that it depends on the individual horse and what kind of environment you are riding in. If you are riding in an area with a lot of dust or debris, then bagging your horse’s tail can help protect their tail from being damaged or filled with dirt and debris. However, if your horse is not used to having its tail bagged, it may cause some discomfort for your horse, so be sure to introduce the idea gradually and use only lightweight bags when possible.
It’s also important to make sure that the bag isn’t too tight around the tail as this can restrict blood flow which can lead to irritation or infection. Ultimately, whether or not you should bag your horses tail comes down to personal preference, but making sure they’re comfortable while doing so should always be top priority.

Credit: www.budgetequestrian.com
Horse Tail Bag Dimensions
A horsetail bag is a great way to protect your horse’s tail from the elements. It typically has dimensions of 40″ long by 7″ wide and can be adjusted with buckles or drawstrings for a custom fit. The material used in most bags is lightweight but durable, allowing your horse to move freely while keeping their tail safe.
How to Make a Tail Bag Out of a Sock
Making a tail bag out of a sock is an easy and thrifty way to add extra storage space on your next outdoor adventure. All you need is one long tube-style sock, scissors, and some basic sewing supplies. Start by cutting the toe off the sock and then sew up the bottom to create a closed compartment.
Next, cut two holes in the top for straps or rope handles so that they can be secured around your waist or over your shoulder. Finally, fill with snacks, sunscreen, or any other small items you may need along the way!
How to Make a Horse Tail for Costume
Making a horse tail for a costume is an easy process that requires some basic materials. You’ll need fabric in the color of your choice, scissors, needle, and thread, and stuffing material such as cotton batting or polyester fiberfill. Start by cutting strips of fabric about 4 inches wide and 12 inches long.
Gather one end of each strip together to form the top portion of the tail, then sew it together with a running stitch or whipstitch. Stuff with batting or fiberfill until it has reached the desired shape and size, then gather the other end into a point at the bottom, secure with stitches, and you’re done!
How to Make a Braid in Tail Bag
Creating a braid in a tail bag is an easy way to add some extra style and flair to your look. All you need is the tail bag, two hair elastics, and a few minutes of time. Start by gathering the hair into three sections — one large section in the middle and two smaller sections on either side.
Cross each small section over the larger one until you reach the end of your hair, then secure it with an elastic. Finally, gently pull apart each section of hair for a fuller-looking braid that adds texture and interest to your look!
Diy Horse Mane Bags
DIY horse mane bags are a great way to keep your horse’s mane clean and free of debris while out on the trail. These easy-to-make bags slip over the top of the horse’s head and neck with an adjustable drawstring that keeps it secure. Not only do they help protect against potential tangles or snags while riding, but they can also make your equine friend look even more stylish!
With some basic sewing skills and materials such as fabric, thread, elastic band, and Velcro fasteners, you can create a unique one-of-a-kind bag for your beloved equine companion.
Mane Bag Pattern
The Mane Bag Pattern is a great way to make your own unique and stylish bag. It features an easy-to-follow design that can be customized in any size or color you would like. This pattern is perfect for beginners who are looking to learn how to sew with fabric, as it has step-by-step instructions on how to complete the project.
Best of all, this pattern also comes with detailed diagrams so even those without experience in sewing can feel confident making their own creation!
Suitability Tail Bag Pattern
The Suitability Tail Bag Pattern is the perfect way to create a stylish yet functional bag for all your needs. This pattern comes with step-by-step instructions and detailed diagrams, so you can easily create a unique bag that fits your individual style. With adjustable straps, you have the ability to customize the bag’s size and shape according to what works best for you.
Whether you are looking for something small enough to carry around on everyday errands or something large enough to hold all of your essentials while traveling, this pattern has it all!
Diy Horse Tail Wrap
DIY horse tail wraps are a great way to protect your horse’s tail from dirt, dust, and other environmental elements. By using simple materials like vet wrap or stretchy fabrics, you can easily create a custom-made wrap tailored to the length and thickness of your horse’s tail. Wrapping your horse’s tail is also beneficial in keeping their coat clean while they’re out on rides or running around the paddock.
With just a few supplies and some simple instructions, you can make an effective DIY tail wrap that will keep your beloved equine friend safe!
Conclusion
Making a horse tail bag is not only an easy and rewarding DIY project, but it also offers a great way to show your love for horses. It can be used as a convenient storage solution or even as part of a costume. With just some basic materials and tools, you can create this fun and unique bag in no time at all!
Whether you’re dressing up for the next equestrian event or simply looking for ways to make your horse tack more organized, making your own horse tail bag is definitely worth trying out. Thank you for reading our post about how to make a horse tail bag.
